How to Reformat a USB Flash Drive
Please note these instructions are for Windows 10, however the process will generally be the same for other modern versions of the Windows OS.
*Caution! Reformatting will erase all data on your drive*
What is reformatting a USB Flash Drive?
Before going into reformatting let me briefly touch on formatting; the process of formatting writes the required directory structure onto the drive so that data (files and other directories) can be added.
Reformatting will erase all data from the USB and write a new directory. There are various options for the type of format you can utilise on a standard memory stick, for instance FAT32 is a popular format due to its versatility and in a separate post we will go through other options along with their strengths and weaknesses.
How to reformat a USB Flash Drive on the Windows 10 OS
1. Plug in your Flash Drive or Memory Stick and wait for your PC to recognise the device.
*typically this pop up will appear

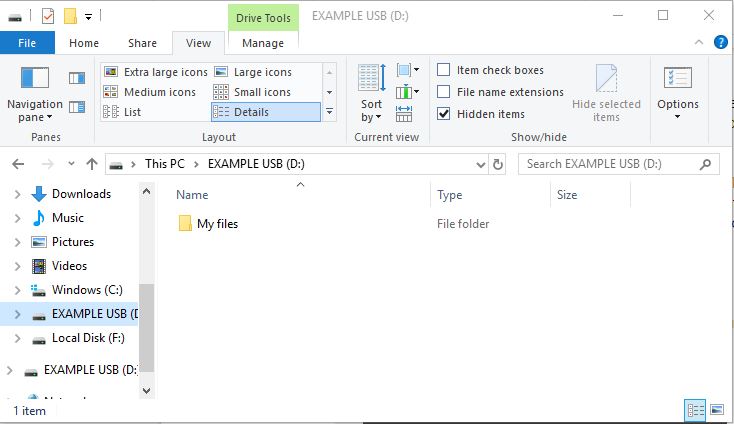
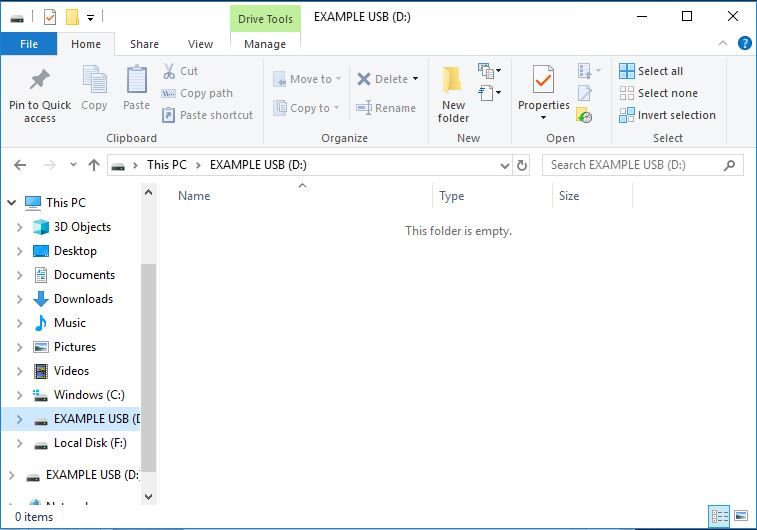
2. Navigate to ‘File explorer’ and left click the memory drive – in this case ‘EXAMPLE USB (D:).
You can see there are existing files on the USB, if you want to keep these files you must back them up before reformatting

3. To begin the reformatting process – right click, you will see various standard options plus ‘Format…’ which is approximately half way down the window.
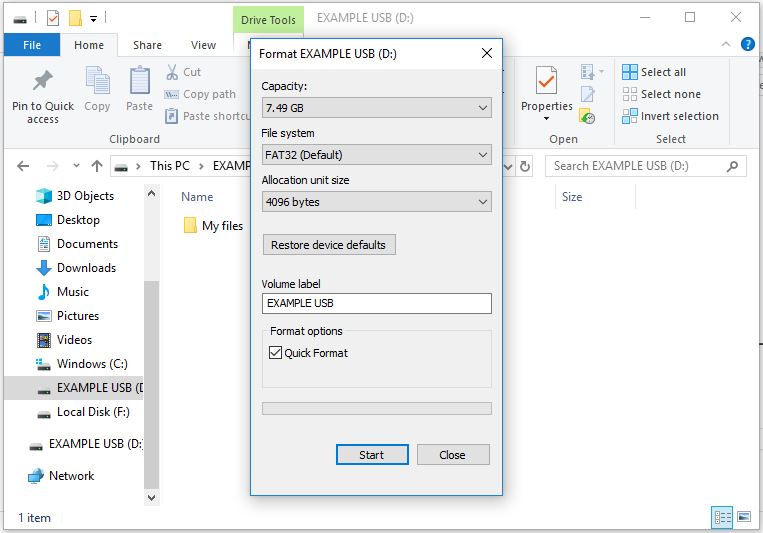
Left click ‘Format…’ and the pop up pictured below will appear
Capacity: This refers to the amount of writable memory that will be available after formatting. The memory chip is 8GB however 0.51GB is used to allow the USB Flash Drive to function properly.
File System: The format type – in this case I’ve chosen FAT32
Allocation unit size: This refers to block size, the default is 4096 bytes however if you’re only going to store large files like photos or videos a larger unit size like 64kb may be more appropriate (due to potentially having less fragmentation)
Restore device defaults – Self explanatory
Volume Label: This is the ‘Drive Name’, you can choose a name for your drive up to 11 standard characters, capital letters and spaces only.
Format options: Quick Format doesn’t scan for bad sectors and as the name suggests is quicker

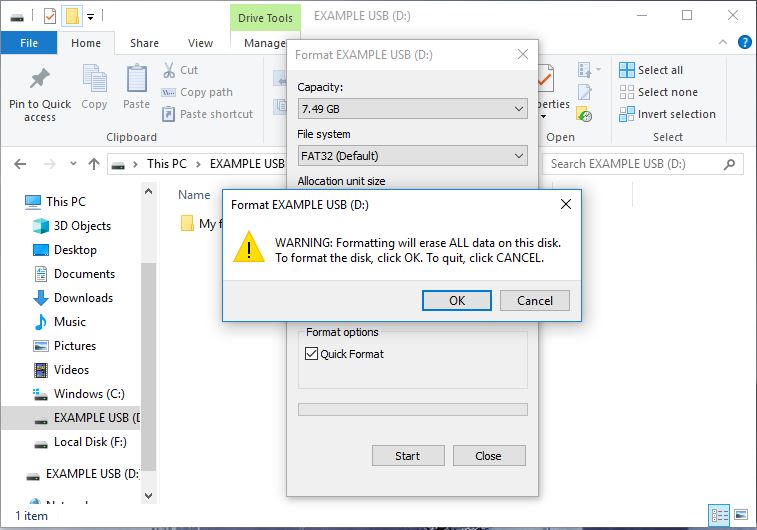
4. Once you’re happy with all the options you can click ‘Start’. A warning message will appear advising that formatting will erase ALL data on the disk.

5. Click ‘OK’, the reformatting process will begin. The time it takes to reformat will vary depending on several factors including the size and speed of the USB memory chip.
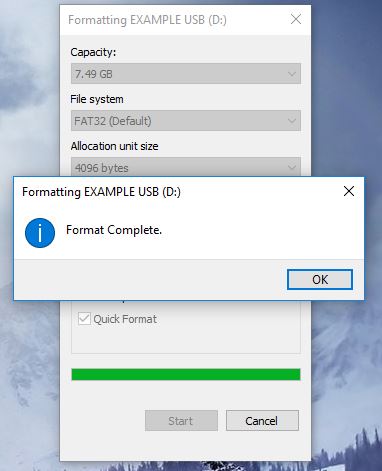
Once it’s finished click ‘Close’

6. The reformatting is now complete. All your data will have been removed from the disk and you can eject the drive or start using it in the device
Thank you for reading the post, next time we’ll go through the different ‘File System’ options along with their strengths and weaknesses